How to change battery in garage door opener remot…
April 14, 2018

The garage door opener is a vital component of your home, providing convenience and security. However, like any electronic device, it relies on a power source, often in the form of batteries. Regularly changing the batteries in your garage door opener is a fundamental aspect of maintenance, ensuring the system functions seamlessly when needed.
To replace the battery in a garage door opener, locate the battery compartment typically on the back or side of the opener. Use a screwdriver to open the compartment, remove the old battery, insert a new one, ensuring proper polarity, and securely close the compartment. Test the opener to confirm proper functionality.
In this comprehensive guide, we will explore the ins and outs of replacing the battery in your garage door opener, covering various types of openers and offering step-by-step instructions.
Before delving into the battery replacement process, it's crucial to understand the types of garage door openers commonly found in households. The four primary types are:
These openers use a metal chain to lift and lower the garage door. They are known for their durability and cost-effectiveness.
Belt-drive openers operate similarly to chain-drive ones but use a rubber belt for quieter and smoother operation. They are preferred for garages adjacent to living spaces.
Screw-drive openers use a threaded steel rod to move the trolley, providing a middle ground between chain and belt systems.
Mounted on the wall beside the garage door, jackshaft openers are suitable for garages with limited overhead space.
Understanding your garage door opener type is crucial as it influences the battery replacement process.
Garage door openers typically use one of two battery types:
Commonly found in older models, a 9-volt alkaline battery is straightforward to replace. However, these batteries may need more frequent changes.
Newer models often feature lithium-ion batteries, known for their longevity and reliability. While they may last longer, replacement can be less frequent.
Identify your garage door opener's battery type before initiating the replacement process.
Now, let's explore the universal steps for replacing the battery in your garage door opener:
Identify the battery compartment on your garage door opener. The location varies based on the opener type but is often near the motor housing.
Before replacing the battery, disconnect the power to the garage door opener. This step is crucial for safety during the replacement process.
Use a screwdriver or the tool provided with your opener to open the battery compartment. Carefully remove any screws or covers.
If your opener uses a 9-volt battery, unclip or slide out the old battery. For lithium-ion batteries, carefully disconnect the wiring.
Insert the new battery, ensuring the correct polarity. For 9-volt batteries, match the positive (+) and negative (-) terminals. For lithium-ion batteries, reconnect the wiring securely.
Close the battery compartment, making sure it is sealed securely. Replace any screws or covers removed during the opening.
Reconnect the power to your garage door opener. Test the opener to confirm that it operates smoothly with the new battery.
If your garage door opener comes with remote controls, test each one to ensure they function correctly with the new battery.
If your garage has wall-mounted controls, test them to verify proper operation. Confirm that the wall controls respond accurately to open and close commands.
The frequency of battery replacement depends on factors like usage and battery type. Check your opener's user manual for manufacturer-recommended intervals.
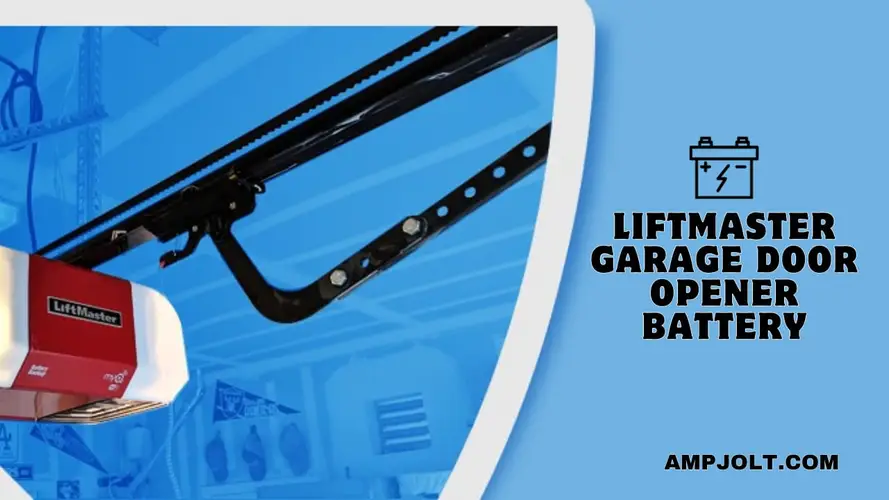
Some garage door openers come with backup battery systems, allowing operation during power outages. If your opener has this feature, consider checking and replacing the backup battery if needed.
If your garage door opener still uses a 9-volt battery, consider upgrading to a lithium-ion battery for extended lifespan and reliability.
Incorporate regular maintenance checks into your routine. Inspect the battery compartment for any signs of corrosion or damage during these checks.
Always consult your garage door opener's user manual for model-specific instructions and recommendations regarding battery replacement and maintenance.
Gathering Necessary Tools:
Before you start the battery replacement process, gather the required tools. You'll typically need a small screwdriver, which matches the type of screws used in your remote.
Step-by-Step Guide:
Now, let's go through the detailed steps to change the battery in your garage door remote:
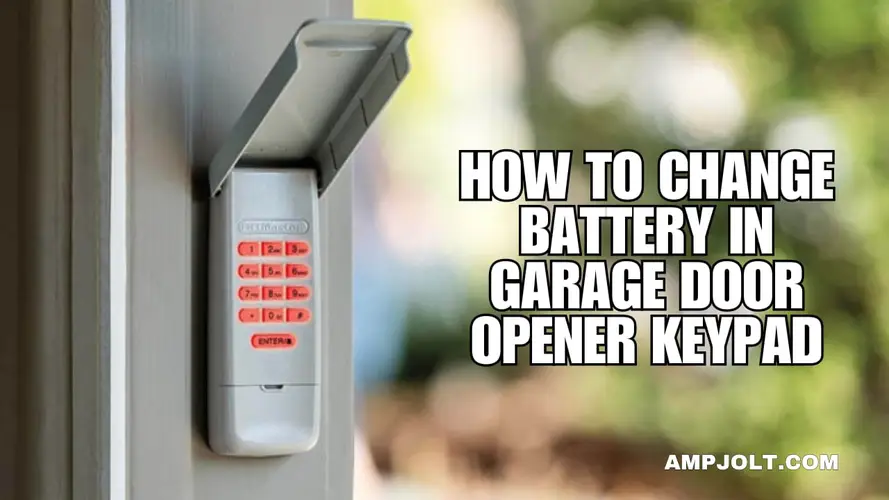
Examine your garage door remote for the battery compartment. This is often on the back of the remote and may be secured by screws or a sliding cover.
Once you've located the battery compartment, use the screwdriver to open it. Carefully remove the screws or open the cover, ensuring not to lose any parts.
Inside the compartment, you'll find the existing battery. Carefully remove the old battery, taking note of its orientation. Some remotes may have a spring mechanism for easy removal.
Take the new battery, ensuring it's the correct type and has the appropriate charge. Insert the battery into the compartment, aligning the positive (+) and negative (-) terminals according to the markings inside.
Once the new battery is in place, securely close the battery compartment. If screws were removed, tighten them to ensure proper sealing. This step is crucial for protecting the new battery and the internal components of the remote.
With the new battery installed, test the remote by pressing the buttons. Ensure that the remote sends signals to the garage door opener, allowing it to open and close as expected. This step verifies that the new battery is functioning correctly.
Additional Tips:
Make changing the battery in your garage door remote part of your regular maintenance routine. Check the battery status periodically, and replace it promptly when needed.
It's advisable to keep spare batteries on hand. This ensures that you can quickly replace the battery when it is depleted, preventing any inconvenience.
Always refer to your remote's user manual for specific instructions and guidelines related to battery replacement. Manufacturers may provide model-specific advice for optimal battery maintenance.
Some remotes may be compatible with rechargeable batteries. Check your user manual to see if this is an option and follow the manufacturer's recommendations. Rechargeable batteries can be a sustainable and cost-effective choice.
Mastering the art of replacing the battery in your garage door opener is a valuable skill that ensures the continued functionality of this essential household device. Whether you have a chain-drive, belt-drive, screw-drive, jackshaft, or direct-drive opener, following these steps guarantees a smooth battery replacement process. By understanding your opener's type, identifying the battery, and adhering to safety precautions, you contribute to the longevity and reliability of your garage door opener system. Regular maintenance and timely battery replacements empower you to enjoy the convenience of seamless garage access with confidence.
Locate the battery compartment, open it using a screwdriver, remove the old battery, insert a new one with proper polarity, and securely close the compartment.
Use a screwdriver to open the battery compartment, remove the old battery, insert a new one, and securely close the compartment.
Identify the battery compartment, open it with a screwdriver, replace the old battery with a new one, ensuring correct polarity, and securely close the compartment.
Open the battery compartment using a screwdriver, remove the old battery, insert a new one, ensuring proper polarity, and securely close the compartment.
Locate the battery compartment, open it with a screwdriver, remove the old battery, insert a new one with proper polarity, and securely close the compartment.
Use a screwdriver to open the remote's battery compartment, remove the old battery, insert a new one, ensuring correct polarity, and securely close the compartment.
April 14, 2018

April 14, 2018

April 14, 2018

April 14, 2018
April 14, 2018

April 14, 2018

April 14, 2018

April 14, 2018

April 14, 2018
April 14, 2018
April 14, 2018

April 14, 2018

April 14, 2018

April 14, 2018

April 14, 2018

April 14, 2018
April 14, 2018
April 14, 2018
April 14, 2018
April 14, 2018

April 14, 2018

April 14, 2018

April 14, 2018

April 14, 2018

April 14, 2018

April 14, 2018
April 14, 2018
April 14, 2018

April 14, 2018

April 14, 2018
April 14, 2018

April 14, 2018

April 14, 2018

April 14, 2018
Comments
Write a comment