
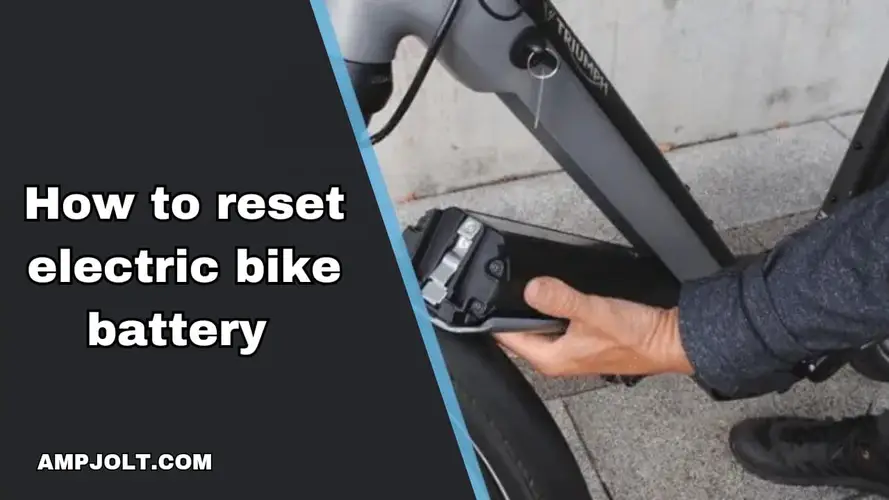
How to reset electric bike battery?
April 14, 2018

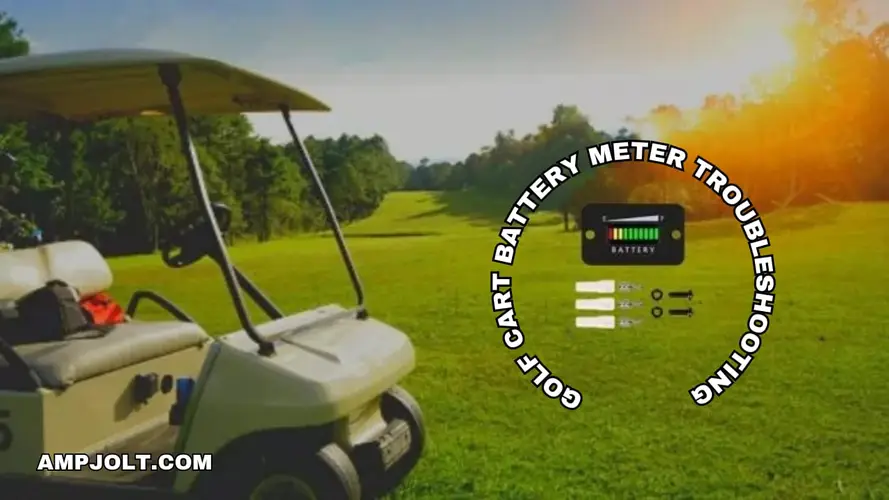
Troubleshooting golf cart battery metres: A Comprehensive Guide
From residential areas to golf courses, golf carts are a common form of transportation. A working battery metre is essential for keeping an eye on the power levels and guaranteeing a dependable and comfortable ride. Still, problems with golf cartbattery metrescan arise with any electrical device.
If the readings on your golf cart battery metre are not accurate or are giving you trouble, check for loose connections, look over the wiring, and make sure the calibration settings are correct. Refer to the user manual for more instructions on troubleshooting. If issues continue, think about getting help from a specialist or replacing it for best results.
This thorough tutorial will examine the typical faults with golf cart battery metres and offer step-by-step instructions for troubleshooting these problems.
Comprehending Golf Cart Battery Metres
Golf cart battery metres are essential indicators that provide current information on the battery's state of charge. Usually, they use a voltage-based mechanism to function, showing the battery's voltage to gauge its state of charge. Although a lot of golf carts have sturdy battery metres installed, problems can develop with time and cause readings to become erroneous or even stop altogether.
Common Golf Cart Battery Meter Issues
1. Inaccurate Readings
Among the most frequent problems are readings that are off. This could show up as the battery's true condition being lower or higher than what the metre indicates as the charge level. Errors in calibration or a broken metre might cause inaccuracies.
2. No Display or Dim Screen
Some users can experience problems with the battery metre display being very dim or not lighting up at all. The metre's internal components, wiring, or backlight may be malfunctioning.
3. Fluctuating Readings
The battery metre's inconsistent readings, even while the golf cart is still, are another problem. This can point to a loose connection, issues with the wiring, or interference from other electrical parts.
4. Delayed Response
When the metre takes a long time to update after charging or discharging, this is known as a delayed reaction. This could indicate a faulty metre or problems with the internal circuitry.
5. Complete Metre Failure
Occasionally, the battery metre may die and not display any symptoms. Water damage, blown fuses, or malfunctioning internal components can all cause this.
1. Check Battery Voltage
To find the real voltage of the golf cart batteries, use a multimeter. Verify the values against the display on the metre. If the difference is substantial, there might be a problem with the calibration.
2. Calibration Adjustment
A few metres have calibration modifications available. To find out if this feature is available on your metre, consult the user handbook. To ensure reliable results, recalibrate the metre according to the instructions that come with it.
3. Inspect Wiring and Connections
Examine the connections and wiring surrounding the battery metre visually. Check for disconnected plugs, corroded terminals, and loose or broken wires. As needed, repair damaged parts and make sure all connections are secure.
4. Check for Blown Fuses
Check the fuse box of the golf cart for any blown fuses connected to the battery metre. To restore appropriate functionality, replace any blown fuses with ones that have the correct rating.
5. Verify Ground Connection
Make sure there is a strong ground connection to the battery metre. Unpredictable readings or metre failure can result from poor ground. Make sure the ground connection point is clean and firmly fastened.
6. Inspect Metre Display
If the metre display is dim or not functional, check for damage to the backlight or LED display. To restore visibility, replace any broken parts or lightbulbs.
7. Check for Water Damage
Look for indications of water damage on the battery metre. Water intrusion might result in internal deterioration and metre malfunction. Any parts damaged by water should be replaced.
8. Avoid Electrical Interference
The battery metre should not be near any electrical devices as this could interfere with the readings. Verify that no additional electronics or accessories are interfering with the signal.
9. Test with a Known Good Metre
If possible, substitute the existing battery metre with a known good one. If the replacement metre functions correctly, it indicates that the original metre may be faulty and requires replacement. It would help if you also read Do gas stationsList of battery types
10. Consult Manufacturer Support
For more help, get in touch with the maker of the battery metre or the golf cart if the troubleshooting steps don't work. They might offer detailed troubleshooting instructions or suggest expert assistance.
How can I recalibrate my golf cart battery metre?
1. Refer to the User Manual
Find the user manual for your battery metre or golf cart first. You may find detailed instructions on how to recalibrate the metre in the handbook. The owner's handbook is frequently available on the manufacturer's website if you don't have it.
2. Safety Precautions
Make sure the golf cart is securely fastened and positioned on a level surface before starting the recalibration procedure. To avoid an electrical shock when doing the procedure, turn off the ignition and unhook the battery.
3. Access Calibration Settings
Access the calibration parameters based on the battery metre's make and model. This could be via a remote control, a set of key turns, or tapping certain buttons in a certain order. For detailed instructions, refer to the user handbook.
4. Enter Calibration Mode
To enter the calibration mode, follow the instructions provided in the user handbook. You can get precise voltage readings by adjusting the metre's settings in this mode.
5. Adjust Voltage Reading
You usually have the ability to change the voltage measurement that the battery meter displays after it is in calibration mode. To get the voltage reading to correspond with the real voltage of the batteries, gradually increase or reduce it using the given controls or buttons.
6. Verify Readings
Exit the calibration mode and start the golf cart after making the necessary modifications. After letting the batteries slowly deplete or charge, see if the voltage variations are appropriately reflected on the metre. Until the readings are consistently accurate, repeat the procedure.
7. Repeat if Necessary
If future measurements show any differences or inaccuracies, repeat the recalibration procedure. Adjust the battery metre as necessary until it regularly gives accurate readings.
8. Confirm Calibration Success
Verify that the battery metre reliably and precisely indicates the batteries' charge level after you are happy with the calibration. The success of the recalibration procedure is guaranteed by this certification.
9. Record Settings
To maintain the calibrated settings, adhere to the user manual's recommendations if your battery metre permits you to retain particular settings. This step makes sure that even when the golf cart is switched off, the recalibration changes are kept in place.
10. Regular Checks
To guarantee continued accuracy, check the battery metre on a regular basis. Over time, calibration may be impacted by variables such usage habits, temperature fluctuations, and battery age. Perform another recalibration if you see any notable variances.
April 14, 2018
April 14, 2018
April 14, 2018
April 14, 2018
April 14, 2018
April 14, 2018

April 14, 2018
April 14, 2018
April 14, 2018
April 14, 2018

April 14, 2018

April 14, 2018

April 14, 2018
April 14, 2018

April 14, 2018
April 14, 2018

April 14, 2018
April 14, 2018

April 14, 2018

April 14, 2018
April 14, 2018

April 14, 2018
April 14, 2018
April 14, 2018
April 14, 2018
April 14, 2018

April 14, 2018

April 14, 2018
April 14, 2018
April 14, 2018
April 14, 2018
April 14, 2018
April 14, 2018

April 14, 2018
Comments
Write a comment